

GeoBlocking für nginx

Aus gegebenem Anlass möchte ich aufzeigen, wie Sie für Ihren nginx-Webserver das Geo-IP Blocking aktivieren können. Dazu erweitern wir den nginx-Webserver um das Geo-IP Blocking-Modul und nutzen zudem die MAXMIND-Datenbank, welche täglich aktualisiert wird. Ihre Webserver werden dadurch weiter gehärtet und unerwünschten Ländern wird der Zugrif auf Ihre Webserver etwas erschwert.
In nur vier Schritten gelingt es Ihnen, diesen Mechanismus zu implementieren:
- MaxMind-Account erstellen und Lizenz requestieren
- Cronjob für Update der GeoIP-Datenbank
- nginx-Modul kompilieren
- nginx für GeoIP-Blocking konfigurieren
- Anpassung hinsichtlich Nextcloud-Office
01. MaxMind-Account (kostenlos) und Lizenzschlüssel erzeugen
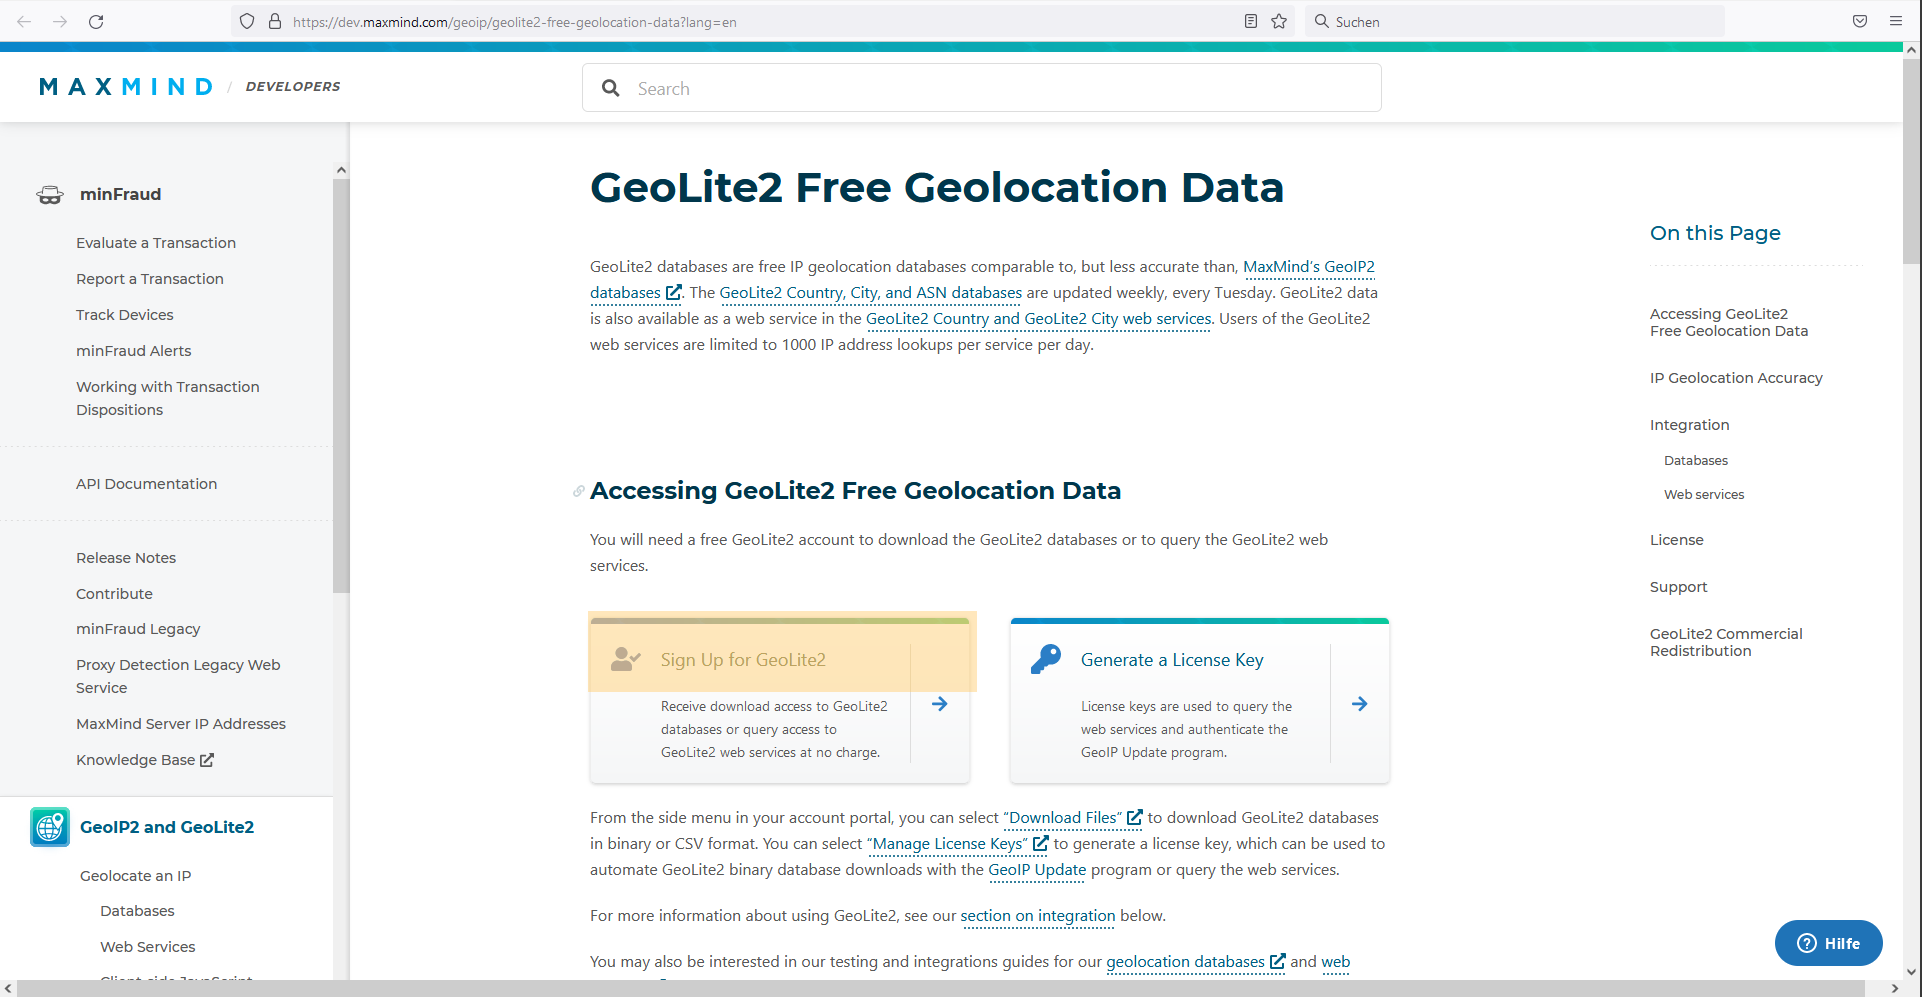
Rufen Sie im Browser diese URL auf
https://dev.maxmind.com/geoip/geolite2-free-geolocation-data?lang=en
und klicken auf Sign Up for GeoLite2, der kostenlosen un dafür weniger häufig aktualisierten Variante von GeoIP2.
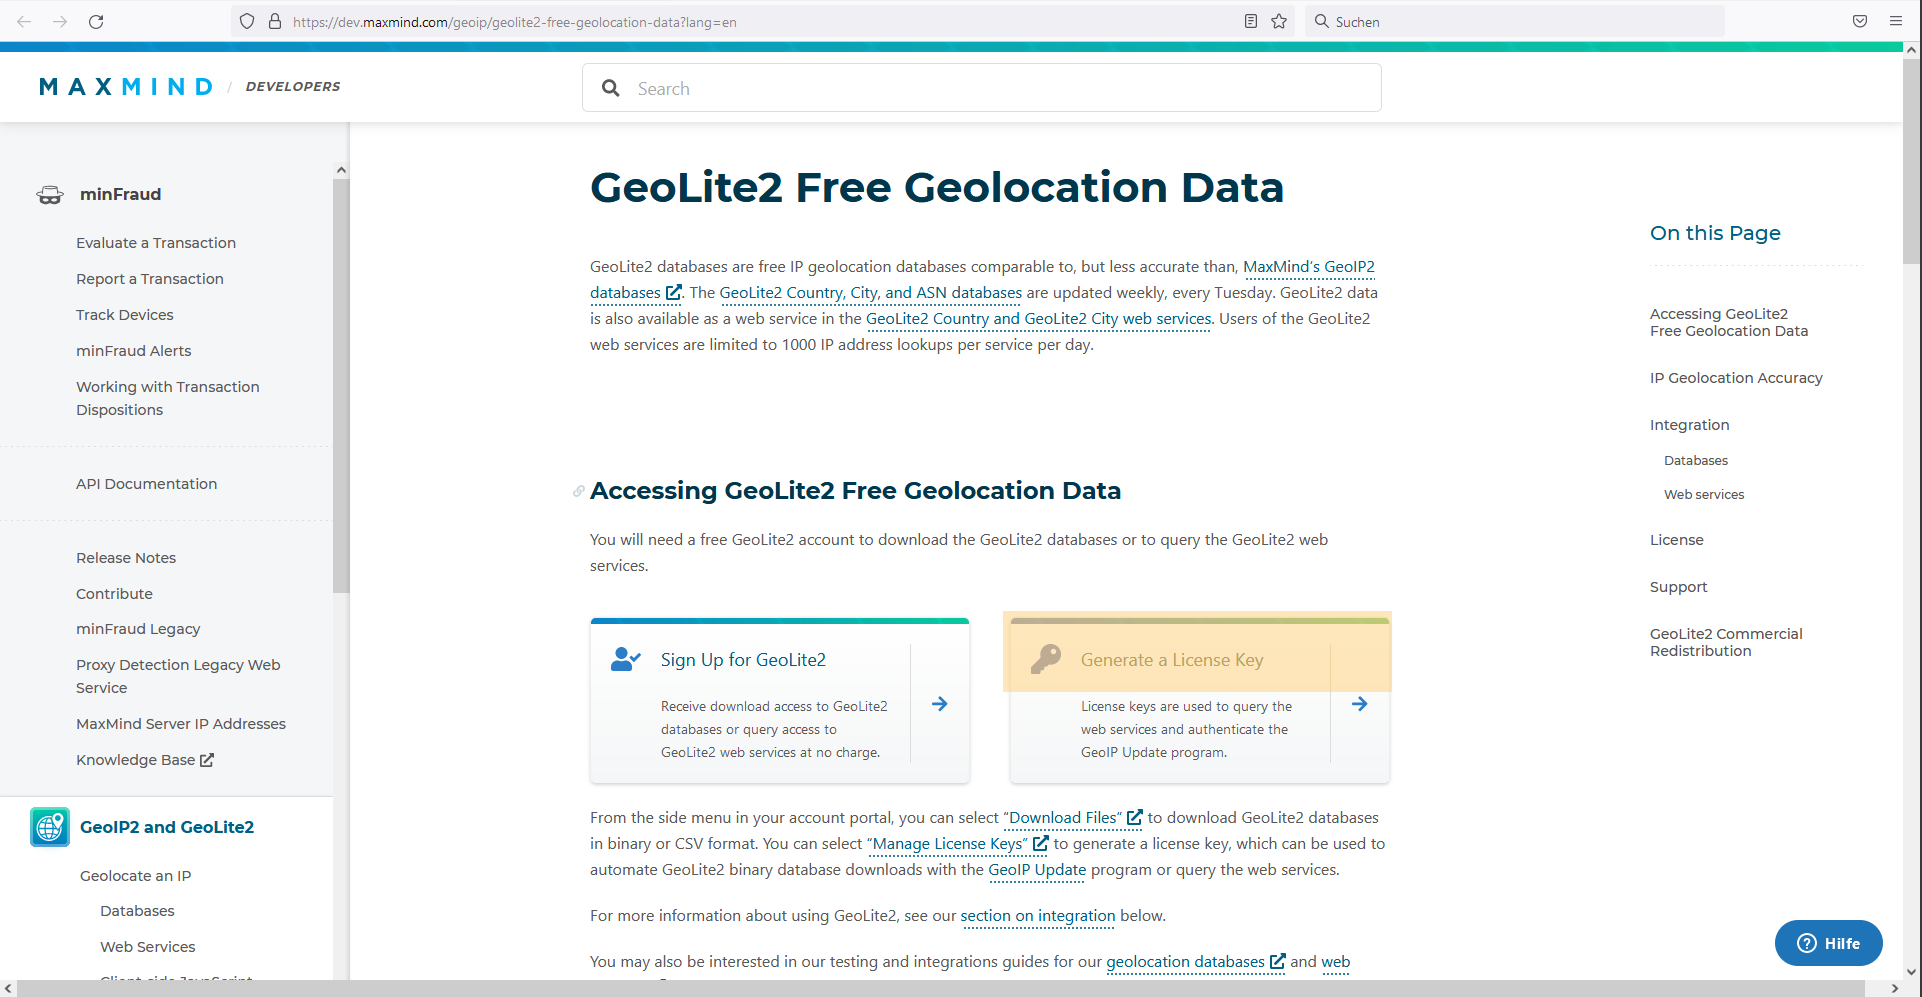
Füllen Sie alle nicht optionalen Fehlder aus und beenden die kostenlose Registrierung. Nach der Registrierung erzeugen wir noch einen Lizenzschlüssel, wofür wir auf Generate a License Key klicken.
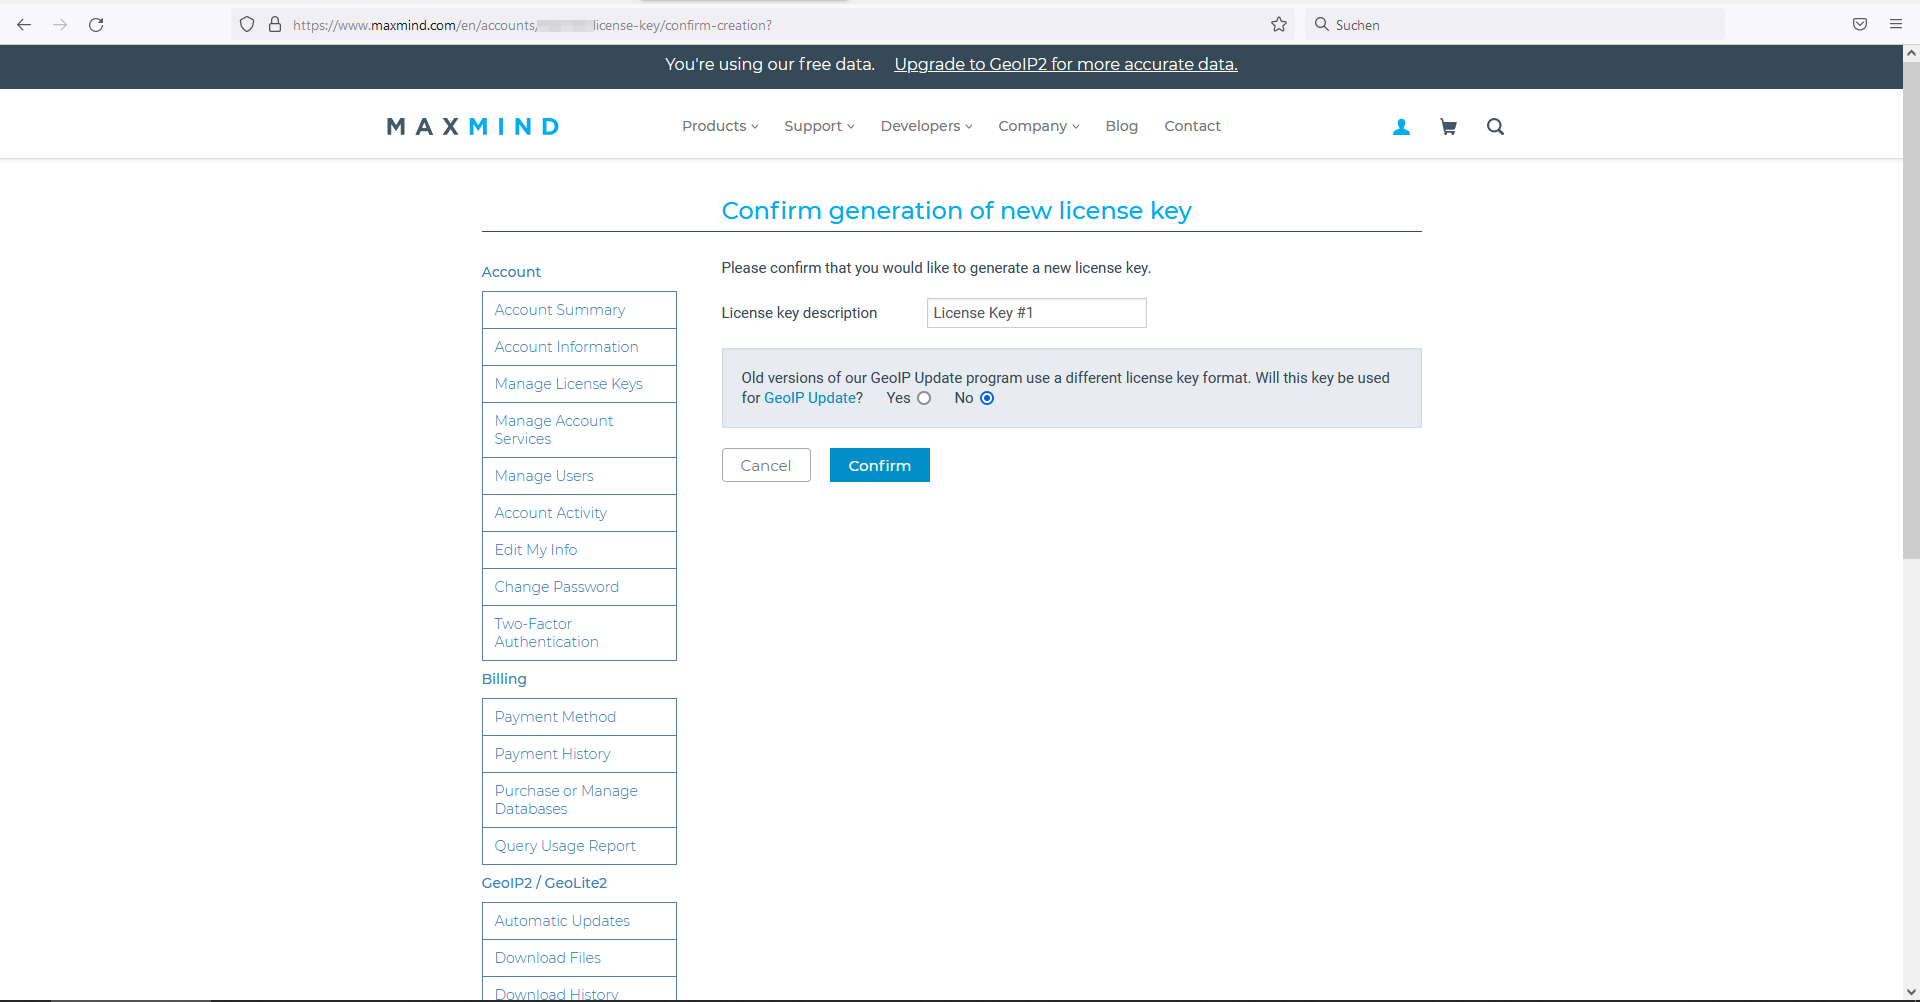
Beantworten Sie die Frage mit No und erzeugen dann Ihre Lizenz.
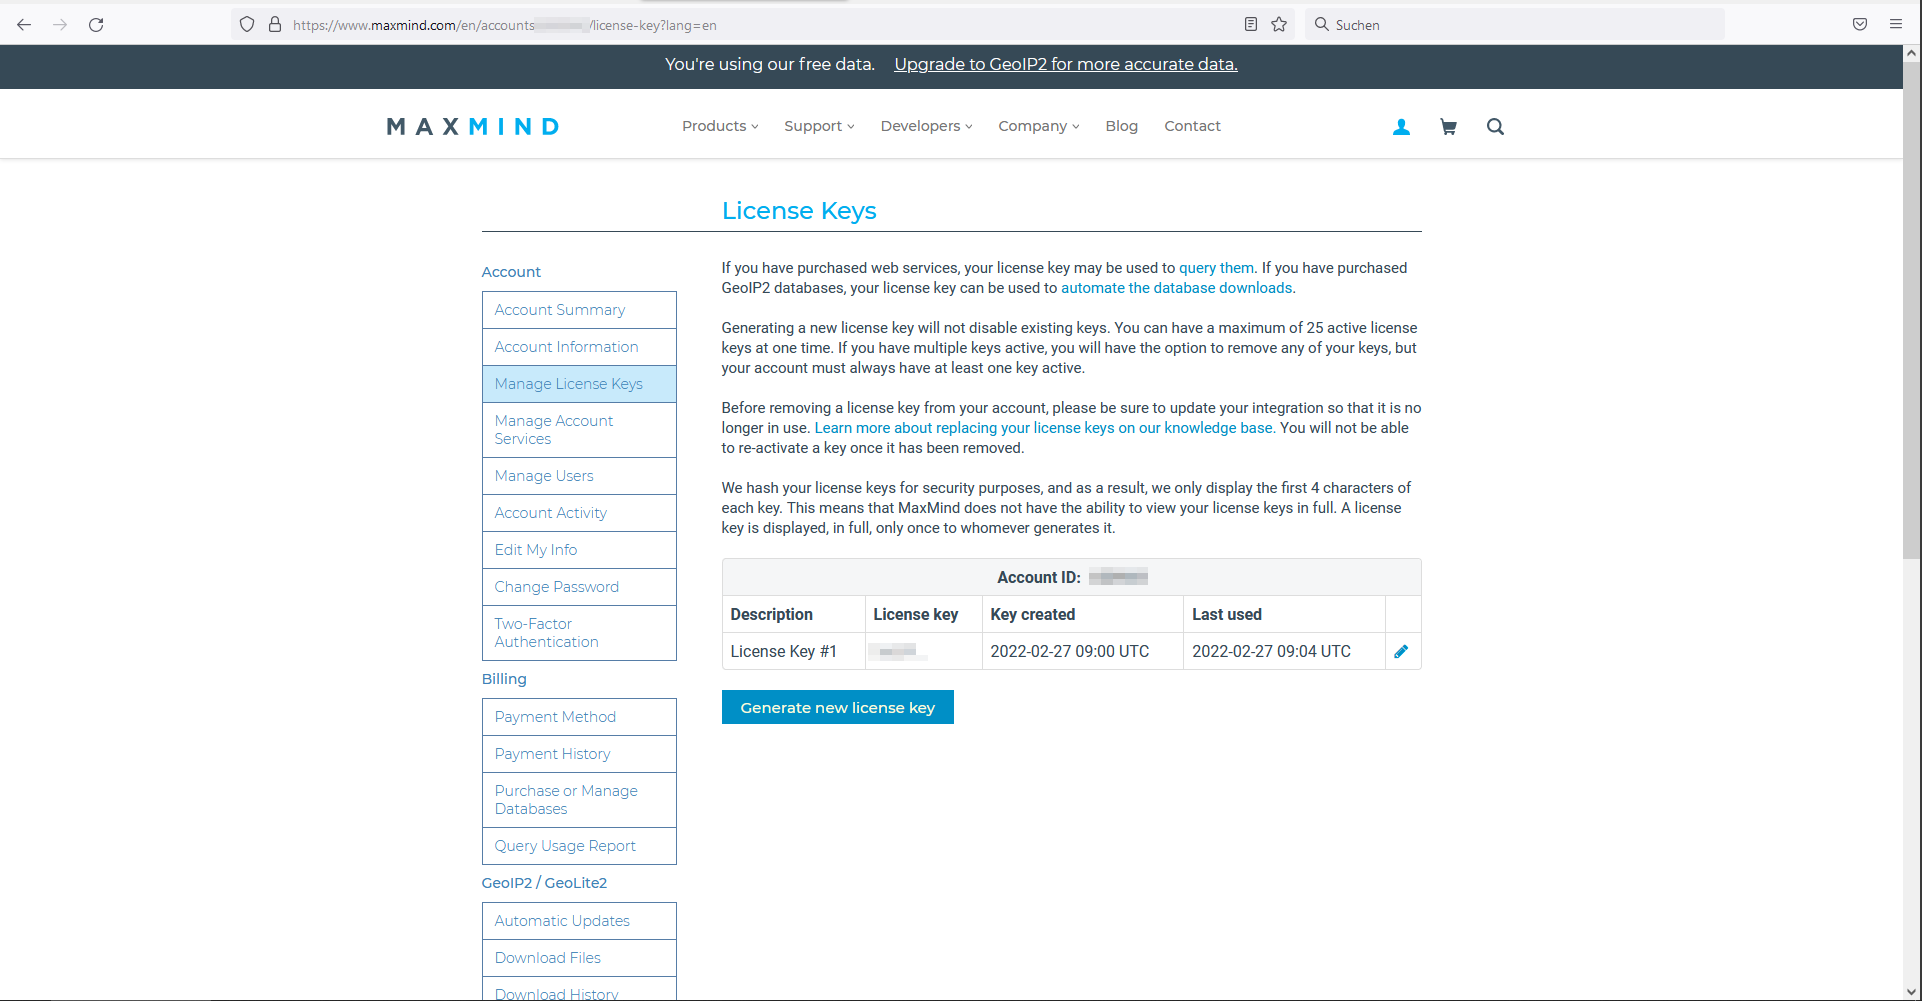
Ihre Lizenz wird Ihnen im Nachgang angezeigt.
Die notwendigen Registrierungsschritte sind nun bereits abgeschlossen, so dass wir mit der Härtung des Webservers fortfahren können.
02. Cronjob für Update der GeoIP-Datenbank
Sowohl zum Herunterladen, als auch zum permanenten Aktualisieren der GeoIP-Datenbanken wird der GeoIP-Client benötigt. Dazu führen Sie folgende Statements aus:
sudo -s
add-apt-repository ppa:maxmind/ppa
apt update && apt install -y libmaxminddb0 libmaxminddb-dev mmdb-bin geoipupdate
Um Geo-IP mit den zuvor registrierten Daten nutzen zu können erstellen wir eine Konfigurationsdatei und fügen die persönlichen Daten aus der Registrierung ein.
nano /etc/GeoIP.conf
Ersetzen Sie dabei bitte die exemplarische AcountID 123456 und den exemplarischen LicenseKey XyXyXyXyXyXyXy mit Ihren Werten aus der Registrierung und reduzieren die Zeile EditionIDs auf GeoLite2-Country, da wir nicht feingranular nach Städten, sondern nur nach Ländern filtern möchten.
# Please see https://dev.maxmind.com/geoip/updating-databases?lang=en for
# instructions on setting up geoipupdate, including information on how to
# download a pre-filled GeoIP.conf file.

# Replace YOUR_ACCOUNT_ID_HERE and YOUR_LICENSE_KEY_HERE with an active account
# ID and license key combination associated with your MaxMind account. These
# are available from https://www.maxmind.com/en/my_license_key.
AccountID 123456
LicenseKey XyXyXyXyXyXyXy

# Enter the edition IDs of the databases you would like to update.
# Multiple edition IDs are separated by spaces.
EditionIDs GeoLite2-Country
# GeoLite2-City

# The remaining settings are OPTIONAL.

# The directory to store the database files. Defaults to /usr/share/GeoIP
# DatabaseDirectory /usr/share/GeoIP

# The server to use. Defaults to "updates.maxmind.com".
# Host updates.maxmind.com

# The proxy host name or IP address. You may optionally specify a
# port number, e.g., 127.0.0.1:8888. If no port number is specified, 1080
# will be used.
# Proxy 127.0.0.1:8888

# The user name and password to use with your proxy server.
# ProxyUserPassword username:password

# Whether to preserve modification times of files downloaded from the server.
# Defaults to "0".
# PreserveFileTimes 0

# The lock file to use. This ensures only one geoipupdate process can run at a
# time.
# Note: Once created, this lockfile is not removed from the filesystem.
# Defaults to ".geoipupdate.lock" under the DatabaseDirectory.
# LockFile /usr/share/GeoIP/.geoipupdate.lock

# The amount of time to retry for when errors during HTTP transactions are
# encountered. It can be specified as a (possibly fractional) decimal number
# followed by a unit suffix. Valid time units are "ns", "us" (or "µs"), "ms",
# "s", "m", "h".
# Defaults to "5m" (5 minutes).
# RetryFor 5m
Im Anschluss laden wir die Datenbanken initial herunter:
geoipupdate -v
Abschließend richten wir noch einen cronjob ein,
crontab -e
der täglich um 01:55 Uhr die Datenbank aktualisiert:
55 1 * * 0 /usr/bin/geoipupdate && /bin/systemctl reload nginx.service > /dev/null 2>&1
Im Anschluss bereiten wir den nginx-Webserver auf GeoIP-Blocking vor.
03. nginx-Modul kompilieren
Beginnen wir damit, die notwendigen Abhängigkeiten zu installieren und dann den Sourcecode des GeoIP2-Blockingmoduls herunter zu laden.
apt install -y libpcre3-dev git
Wechseln Sie in Ihr Home-Verzeichnis
cd /home/IhrBenutzer
und klonen dann das Modul auf Ihren Server:
git clone https://github.com/leev/ngx_http_geoip2_module.git
Wir benötigen zudem den Sourcecode des GeoIP-Moduls. Dazu ermitteln wir die aktuell installierte nginx-Webserverversion
NGINX_VERSION=$(nginx -v 2>&1|cut -d"/" -f 2)
und laden dann den dazu passenden Quellcode herunter:
wget http://nginx.org/download/nginx-$NGINX_VERSION.tar.gz
Entpacken Sie die Daten und wechseln anschließend in das entsprechende nginx-Verzeichnis:
tar zxvf nginx-$NGINX_VERSION.tar.gz
cd nginx-$NGINX_VERSION
Um die notwendigen GeoIP-Module kompilieren zu können, installieren wir zuerst noch notwendige Software nach:
apt install -y build-essential libpcre3 libpcre3-dev zlib1g zlib1g-dev libssl-dev libgd-dev libxml2 libxml2-dev uuid-dev libpcre3-dev
Nun kompilieren Sie das Modul und passen dafür den exemplarisch gewählten Namen ‚IhrBenutzer‚ entsprechend an.
./configure --with-compat --add-dynamic-module=/home/IhrBenutzer/ngx_http_geoip2_module
make modules
Das kompilierte Module wird nun in das Webserververzeichnis kopiert
cp objs/ngx_http_geoip2_module.so /etc/nginx/modules/ngx_http_geoip2_module.so
und somit dem nginx-Webserver zur Verfügung gestellt. Diesen konfigurieren wir nun als letzten Schritt.
Relevant für nginx-Updates:
Bitte beachten Sie, dass bei jedem Update des nginx-Webservers das erneute Kompilieren der module notwendig wird. Sie können das in dieser Weise mittels Skript durchführen:
cd /home/IhrBenutzer
touch UpdateGeo-ip.sh && nano UpdateGeoip.sh
#!/bin/bash
clear
cd /home/IhrBenutzer
rm -rf nginx*
rm -rf ngx_http_geoip2_module
echo "... alte Module bereinigt."
git clone https://github.com/leev/ngx_http_geoip2_module.git
NGINX_VERSION=$(nginx -v 2>&1|cut -d"/" -f 2)
wget http://nginx.org/download/nginx-$NGINX_VERSION.tar.gz
tar zxvf nginx-$NGINX_VERSION.tar.gz
cd nginx-$NGINX_VERSION
echo "... neue Module erstellt."
./configure --with-compat --add-dynamic-module=/home/IhrBenutzer/ngx_http_geoip2_module
make modules
cp objs/ngx_http_geoip2_module.so /etc/nginx/modules/ngx_http_geoip2_module.so
/usr/sbin/service nginx restart
echo "... nginx-Webserver wurde neu gestartet."
echo " "
echo "(c), Carsten Rieger IT-Services"
04. nginx für GeoIP-Blocking konfigurieren
Zuerst binden wir das neue Modul in die Webserverkonfiguration ein. Dazu editieren wir die Date nginx.conf
nano /etc/nginx/nginx.conf
und fügen als erste Zeile den Link zum Modul hinzu:
load_module modules/ngx_http_geoip2_module.so;
Zudem erweitern wir diese Datei im http-Block um die neuen GeoIP-Anweisungen:
map $geoip2_data_country_iso_code $allowed_country {
default yes;
RU no;
CN no;
KP no;
BY no;
A1 no;
}
Die gesamte Datei sieht bspw. wie folgt aus und kann auch komplett übernommen werden:
load_module modules/ngx_http_geoip2_module.so;
user www-data;
worker_processes auto;
pid /var/run/nginx.pid;
events {
worker_connections 2048;
multi_accept on; use epoll;
}
http {
server_names_hash_bucket_size 64;
access_log /var/log/nginx/access.log;
error_log /var/log/nginx/error.log warn;
# set_real_ip_from 127.0.0.1;
real_ip_header X-Forwarded-For;
real_ip_recursive on;
include /etc/nginx/mime.types;
default_type application/octet-stream;
sendfile on;
send_timeout 3600;
tcp_nopush on;
tcp_nodelay on;
open_file_cache max=500 inactive=10m;
open_file_cache_errors on;
keepalive_timeout 65;
reset_timedout_connection on;
server_tokens off;
resolver 127.0.0.53 valid=30s;
resolver_timeout 5s;
include /etc/nginx/conf.d/*.conf;
geoip2 /usr/share/GeoIP/GeoLite2-Country.mmdb {
$geoip2_data_country_iso_code country iso_code;
}
map $geoip2_data_country_iso_code $allowed_country {
default yes;
RU no;
CN no;
KP no;
BY no;
A1 no;
}
}
Um nicht mit einer Blocklist sondern stattdessen mit einer Allowlist zu arbeiten kann der untere Block auch durch diesen ersetzt werden:
[...]
geoip2 /usr/share/GeoIP/GeoLite2-Country.mmdb {
$geoip2_data_country_iso_code country iso_code;
}
map geo $LAN {
default no;
127.0.0.1 yes;
::1 yes;
}
map $geoip2_data_country_iso_code $allowed_country {
default no;
DE yes;
AT yes;
IT yes;
}
[...]
wodurch nur noch Zugriffe aus Deutschland (DE), Österreich (AT) und der Italien (IT) möglich wären. Die Ländercodes unterliegen ISO-3166 , eine Auflistung der Ländercodes finden Sie u.a. hier.
Um den Filter für einen vHost zu aktivieren erweitern Sie diesen um folgenden Eintrag:
if ($LAN = yes) {
set $allowed_country yes;
}
if ($allowed_country = no) {
return 444;
}
Konkret bedeutet das, um bspw. Ihre Nextcloud zu schützen müssten Sie diesen Eintrag in die Datei
nano /etc/nginx/conf.d/nextcloud.conf
aufnehmen. Die vHost-Datei der Nextcloud sieht dann wie folgt aus:
server {
listen 443      ssl http2;
listen [::]:443 ssl http2;
server_name privat.c-rieger.de;
#ssl_certificate /etc/ssl/certs/ssl-cert-snakeoil.pem;
#ssl_certificate_key /etc/ssl/private/ssl-cert-snakeoil.key;
#ssl_trusted_certificate /etc/ssl/certs/ssl-cert-snakeoil.pem;
ssl_certificate /etc/letsencrypt/rsa-certs/fullchain.pem;
ssl_certificate_key /etc/letsencrypt/rsa-certs/privkey.pem;
ssl_certificate /etc/letsencrypt/ecc-certs/fullchain.pem;
ssl_certificate_key /etc/letsencrypt/ecc-certs/privkey.pem;
ssl_trusted_certificate /etc/letsencrypt/ecc-certs/chain.pem;
ssl_dhparam /etc/ssl/certs/dhparam.pem;
ssl_session_timeout 1d;
ssl_session_cache shared:SSL:50m;
ssl_session_tickets off;
ssl_protocols TLSv1.3 TLSv1.2;
ssl_ciphers 'TLS-CHACHA20-POLY1305-SHA256:TLS-AES-256-GCM-SHA384:ECDHE-RSA-AES256-GCM-SHA512:DHE-RSA-AES256-GCM-SHA512:ECDHE-RSA-AES256-GCM-SHA384:DHE-RSA-AES256-GCM-SHA384';
ssl_ecdh_curve X448:secp521r1:secp384r1;
ssl_prefer_server_ciphers on;
ssl_stapling on;
ssl_stapling_verify on;
if ($LAN = yes) {
set $allowed_country yes;
}
if ($allowed_country = no) {
return 444;
}
client_max_body_size 10G;
client_body_timeout 3600s;
client_body_buffer_size 512k;
fastcgi_buffers 64 4K;
gzip on;
gzip_vary on;
gzip_comp_level 4;
gzip_min_length 256;
gzip_proxied expired no-cache no-store private no_last_modified no_etag auth;
gzip_types application/atom+xml application/javascript application/json application/ld+json application/manifest+json application/rss+xml application/vnd.geo+json application/vnd.ms-fontobject application/wasm application/x-font-ttf application/x-web-app-manifest+json application/xhtml+xml application/xml font/opentype image/bmp image/svg+xml image/x-icon text/cache-manifest text/css text/plain text/vcard text/vnd.rim.location.xloc text/vtt text/x-component text/x-cross-domain-policy;
add_header Strict-Transport-Security            "max-age=15768000; includeSubDomains; preload;" always;
add_header Permissions-Policy                   "interest-cohort=()";
add_header Referrer-Policy                      "no-referrer"   always;
add_header X-Content-Type-Options               "nosniff"       always;
add_header X-Download-Options                   "noopen"        always;
add_header X-Frame-Options                      "SAMEORIGIN"    always;
add_header X-Permitted-Cross-Domain-Policies    "none"          always;
add_header X-Robots-Tag                         "none"          always;
add_header X-XSS-Protection                     "1; mode=block" always;
add_header X-Country                            $geoip2_data_country_iso_code;
fastcgi_hide_header X-Powered-By;
[...]
Als Kosequenz dieser Konfiguration wird den Besuchern aus „blockierten“ Ländern der http-Responsecode 444 als Fehler zurückgegeben.
Auch andere Status sind möglich, wie bspw. HTTP 420 („Policy Not Fulfilled“) oder 451 („Unavailable For Legal Reasons“), eine weiterführende Liste ist u.a. hier einsehbar. Mit einem abschließenden Neustart des Webservers
systemctl restart nginx.service php8.1-fpm.service
ist die Härtung abgeschlossen.
05. Anpassung hinsichtlich Nextcloud Office
nano /etc/nginx/nginx.conf
[...]
geoip2 /usr/share/GeoIP/GeoLite2-Country.mmdb {
  $geoip2_data_country_iso_code country iso_code;
  }
  map geo $LAN {
  127.0.0.1 yes;
  ::1 yes;
  }
  map $geoip2_data_country_iso_code $allowed_country {
  DE yes;
  AD no;AE no;AF no;AG no;AI no;AL no;AM no;AO no;AQ no;AR no;AS no;AT no;AU no;AW no;AX no;AZ no;BA no;BB no;BD no;BE no;BF no;BG no;BH no;BI no;BJ no;BL no;BM no;BN no;BO no;BQ no;BR no;BS no;BT no;BV no;BW no;BY no;BZ no;CA no;CC no;CD no;CF no;CG no;CH no;CI no;CK no;CL no;CM no;CN no;CO no;CR no;CU no;CV no;CW no;CX no;CY no;CZ no;DJ no;DK no;DM no;DO no;DZ no;EC no;EE no;EG no;EH no;ER no;ES no;ET no;FI no;FJ no;FK no;FM no;FO no;FR no;GA no;GB no;GD no;GE no;GF no;GG no;GH no;GI no;GL no;GM no;GN no;GP no;GQ no;GR no;GS no;GT no;GU no;GW no;GY no;HK no;HM no;HN no;HR no;HT no;HU no;ID no;IE no;IL no;IM no;IN no;IO no;IQ no;IR no;IS no;IT no;JE no;JM no;JO no;JP no;KE no;KG no;KH no;KI no;KM no;KN no;KP no;KR no;KW no;KY no;KZ no;LA no;LB no;LC no;LI no;LK no;LR no;LS no;LT no;LU no;LV no;LY no;MA no;MC no;MD no;ME no;MF no;MG no;MH no;MK no;ML no;MM no;MN no;MO no;MP no;MQ no;MR no;MS no;MT no;MU no;MV no;MW no;MX no;MY no;MZ no;NA no;NC no;NE no;NF no;NG no;NI no;NL no;NO no;NP no;NR no;NU no;NZ no;OM no;PA no;PE no;PF no;PG no;PH no;PK no;PL no;PM no;PN no;PR no;PS no;PT no;PW no;PY no;QA no;RE no;RO no;RS no;RU no;RW no;SA no;SB no;SC no;SD no;SE no;SG no;SH no;SI no;SJ no;SK no;SL no;SM no;SN no;SO no;SR no;SS no;ST no;SV no;SX no;SY no;SZ no;TC no;TD no;TF no;TG no;TH no;TJ no;TK no;TL no;TM no;TN no;TO no;TR no;TT no;TV no;TW no;TZ no;UA no;UG no;UM no;US no;UY no;UZ no;VA no;VC no;VE no;VG no;VI no;VN no;VU no;WF no;WS no;XK no;YE no;YT no;ZA no;ZM no;ZW no;
  }
[...]
systemctl restart nginx.service php8.1-fpm.service
Über Ihre Unterstützung (diese wird ordnungsgemäß versteuert!) würden sich meine Frau, meine Zwillinge und ich sehr freuen!