


How to install Zimbra on Ubuntu 18.04 LTS
1 year ago
Zimbra Collaboration Server is open-source collaborative software that comprises a mail server and a web client. It allows for email, calendaring, creating users and distribution lists, file sharing, chatting, managing mail server activities, etc. Zimbra Collaboration Server is supported on various platforms including Ubuntu 12.04, Ubuntu 14.04, Ubuntu 18.04, Redhat Enterprise Linux 6, Redhat Enterprise Linux 7, CentOS6, CentOS 7, etc. It is also supported on cloud platforms like VMware vCloud Director VMware vCloud Air and virtualization platform like VMware vSphere, XenServer 6, and KVM. The subject of today’s post is how to install the Zimbra Collaboration server on Ubuntu 18.04 LTS.
Prerequisites
For running the Zimbra collaboration server, you should have:
- Ubuntu machine 18.04 – 64bit
- Root privileges
- Free Disk space 30 GB (minimum)
- RAM 8 GB (minimum)
- CPU/Processor 2.0 GHz (minimum)
Note:
For the setup, we have used:
Zimbra: 8.8.15 GA Release
Domain: test.org
IP: 192.168.1.101
Installing Zimbra on Linux
Here are the steps to install the Zimbra Collaboration Server on Linux. Let’s get started.
Step 1: Update and upgrade existing packages
First, you will need to update and upgrade the existing packages. To do so, issue the below commands in Terminal:
$ sudo apt update
$ sudo apt upgrade
Step 2: Edit hostname and hosts file
Now, we will need to setup a hostname for Zimbra. To do so, edit /etc/hostname file using the below command in Terminal:
$ sudonano/etc/hostname
Replace the hostname with the mail.test.org and then save and close the hostname file.
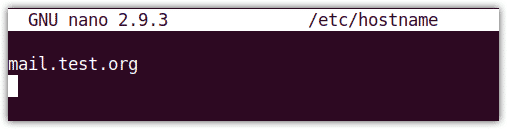
Replace mail.test.org with your own domain name.
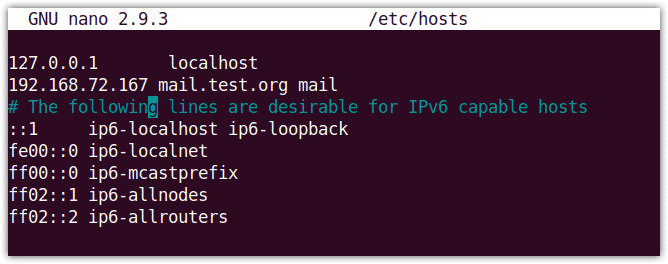
Now edit the /etc/hosts file using the below command in Terminal:
$ sudonano/etc/hosts
Type the following entry and then save and close the hosts file.
192.168.72.167 mail.test.org mail
Where 192.168.72.167 is the IP address of your Zimbra server, and mail.test.org is the fully qualified domain name (FQDN).
Step 3: Install DNS server
In this step, we will install dnsmasq as our DNS server. However, before installing dnsmasq, we will first need to disable systemd-resolve as it runs on port 53. The DNS server dnsmasq also runs on port 53 which can cause port conflict.
Therefore, we will disable the systemd-resolve. Use the following command to do so:
$ sudo systemctl disable systemd-resolved
Then stop the systemd-resolved using the below command:
$ sudo systemctl stop systemd-resolved
Now remove the resolv.conf symlink file:
$ sudorm/etc/resolv.conf
Then create a new resolv.conf file using the below command:

$ sudosh-c’echo nameserver 8.8.8.8 >> /etc/resolv.conf’
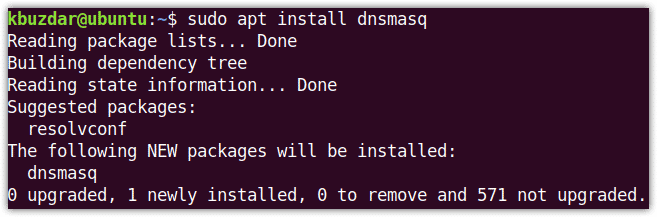
Now to install dsmasq, issue the below command in Terminal:
$ sudo apt install dnsmasq
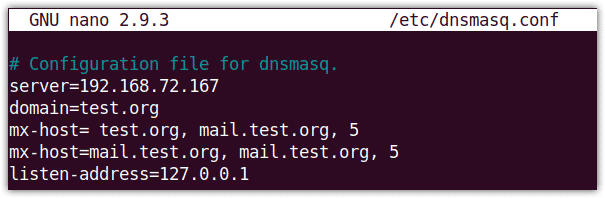
Once the installation of dnsmasq is completed, run the below command to edit the dnsmasq configuration file:
$ sudonano/etc/dnsmasq.conf
Add the following lines in the configuration file:
server=192.168.72.167
domain=test.org
mx-host= test.org, mail.test.org, 5
mx-host=mail.test.org, mail.test.org, 5
listen-address=127.0.0.1
Then restart the dnsmasq service using the below command in Terminal:
$ sudo systemctl restart dnsmasq
Step 4: Downloading and installing Zimbra Collaboration Tool
Now download Zimbra for Ubuntu 18.04 LTS from the following link:
Or use the following wget command in Terminal to download Zimbra:
$ wget https://files.zimbra.com/downloads/8.8.15_GA/zcs-8.8.15_GA_3869.UBUNTU18_64.20190918004220.tgz
The downloaded file will be in the .tgz format. Issue the below command in Terminal to extract the downloaded file:
$ tar-xvf zcs-8.8.15_GA_3869.UBUNTU18_64.20190918004220.tgz
Navigate to the extracted folder using the cd command as follows:
$ cd zcs-8.8.15_GA_3869.UBUNTU18_64.20190918004220
Then run the installer as follows:
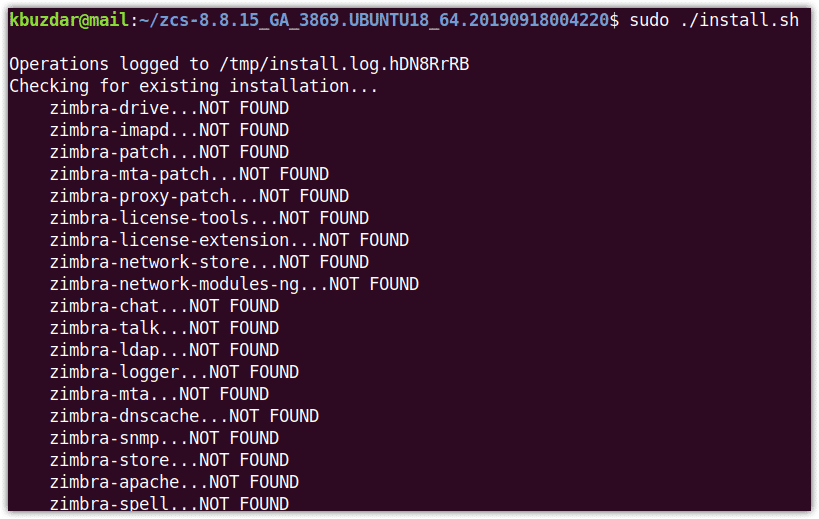
$ sudo ./install.sh
Once the installation is started, you will see something like this:
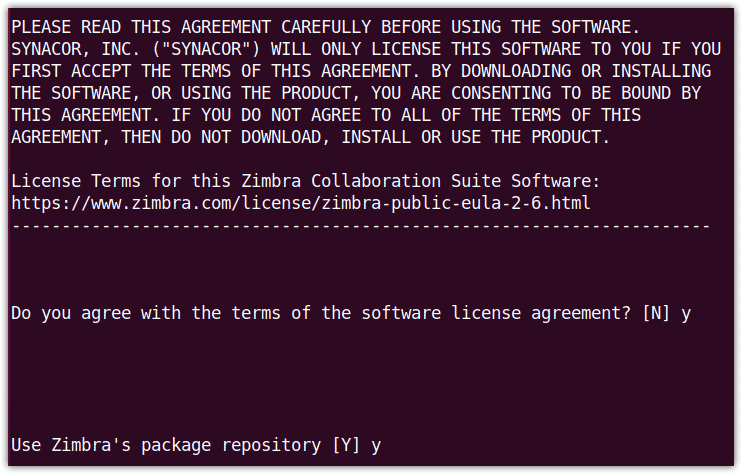
When the following Software License agreement appear, hit y to accept. Then again hit y to use Zimbra’s package repository for installation.
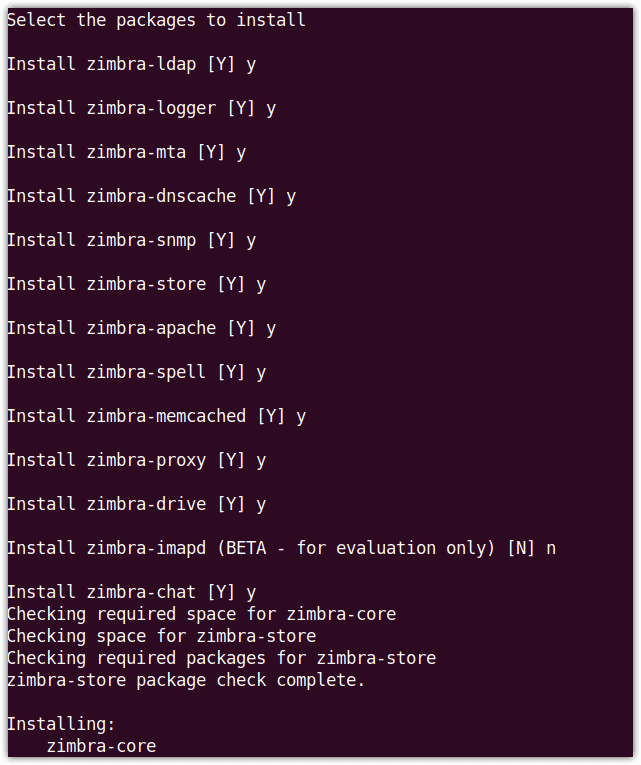
When the following view appears, hit y for each of the packages except for the zimbra-imapd which is available only in the beta version.
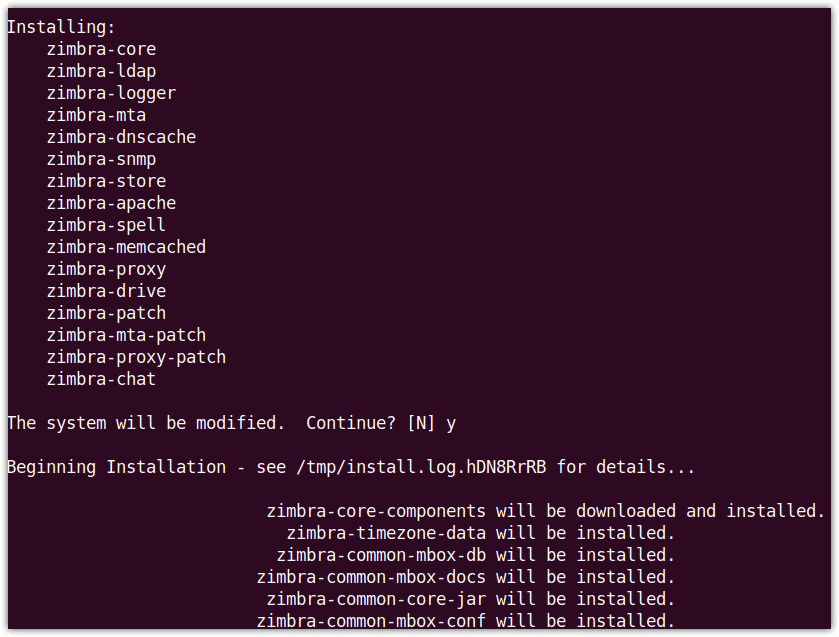
When you are notified that the system will be modified, hit y after which the installation will be started.
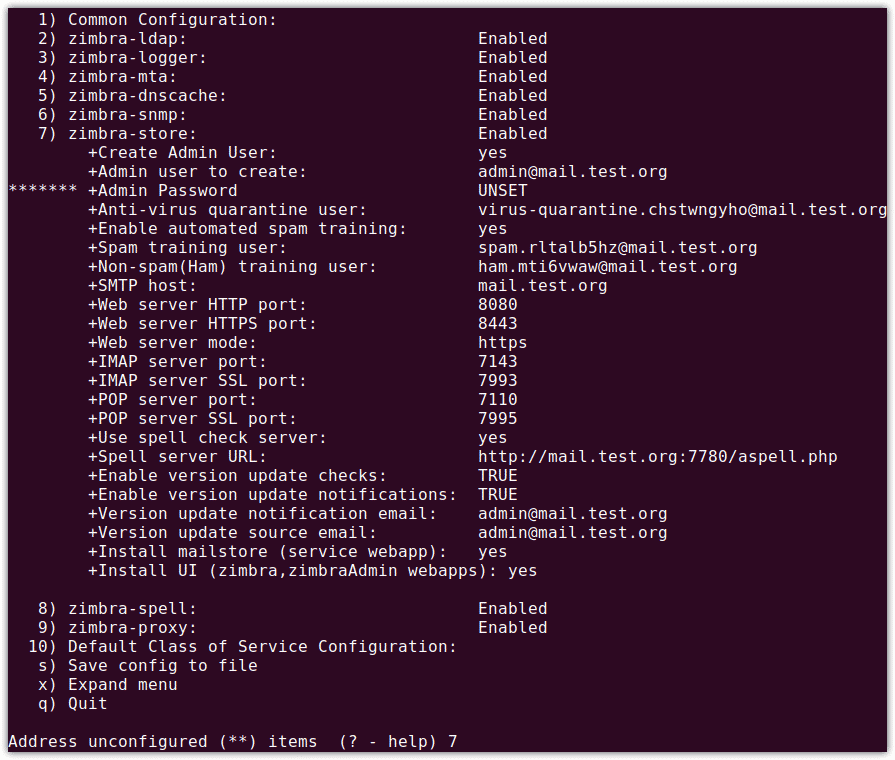
Once the installation is done, the following view will appear and you will be asked to configure the unconfigured items.
Here, we will configure the admin password for Zimbra which is not yet configured. You can also see the Admin Password marked as ***** under the zimbra-store section. Hit 7 on your keyboard to enter into the zimbra-store section.
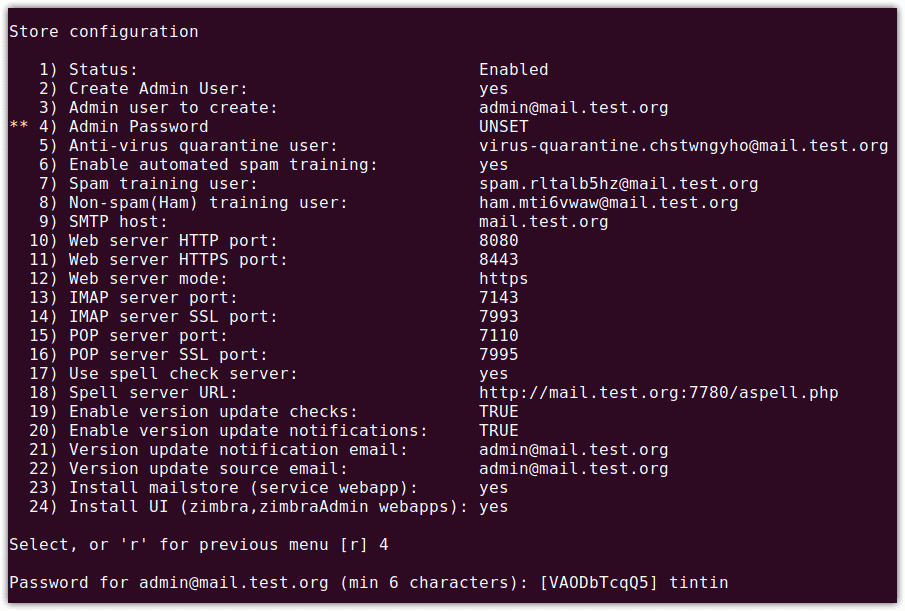
Now for Admin Password configuration, hit 4. You will be prompted to set the password for admin. Type any password (with a minimum of 6 characters).
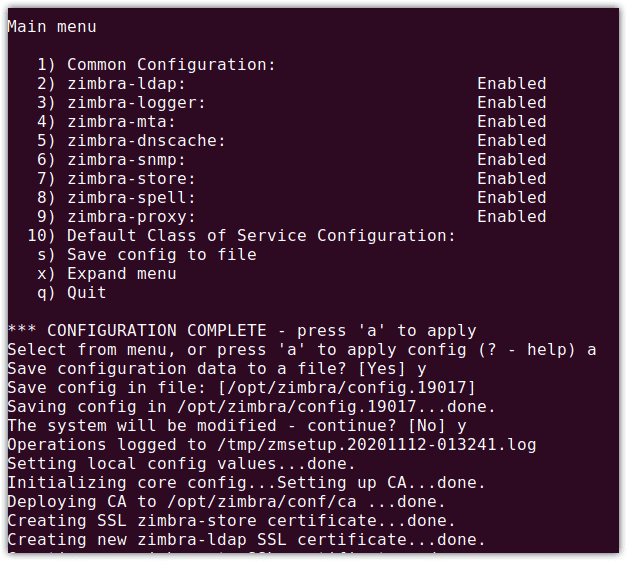
Now hit a to apply the configurations and hit y again to save the configurations. When you are notified that the system will be modified, hit y.
Now you will see the following screen with the configuration completed message, hit Enter to exit.
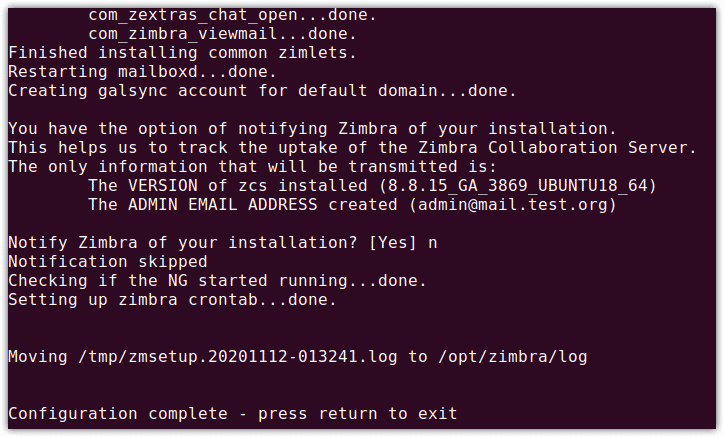
Now the installation of Zimbra mail server has been completed.
Step 5: Access Zimbra administration page
Now you can access the Zimbra administration page. Open any web browser and type:
or
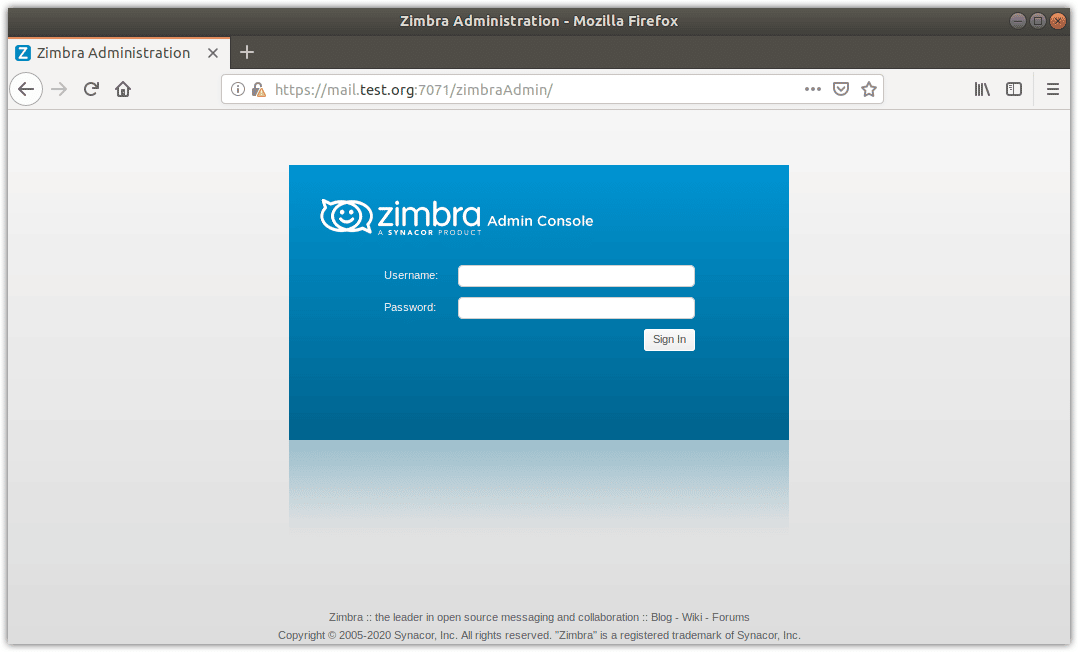
You will see the following default Zimbra login page. Enter admin as username and type password you have set earlier (as described in the previous section).
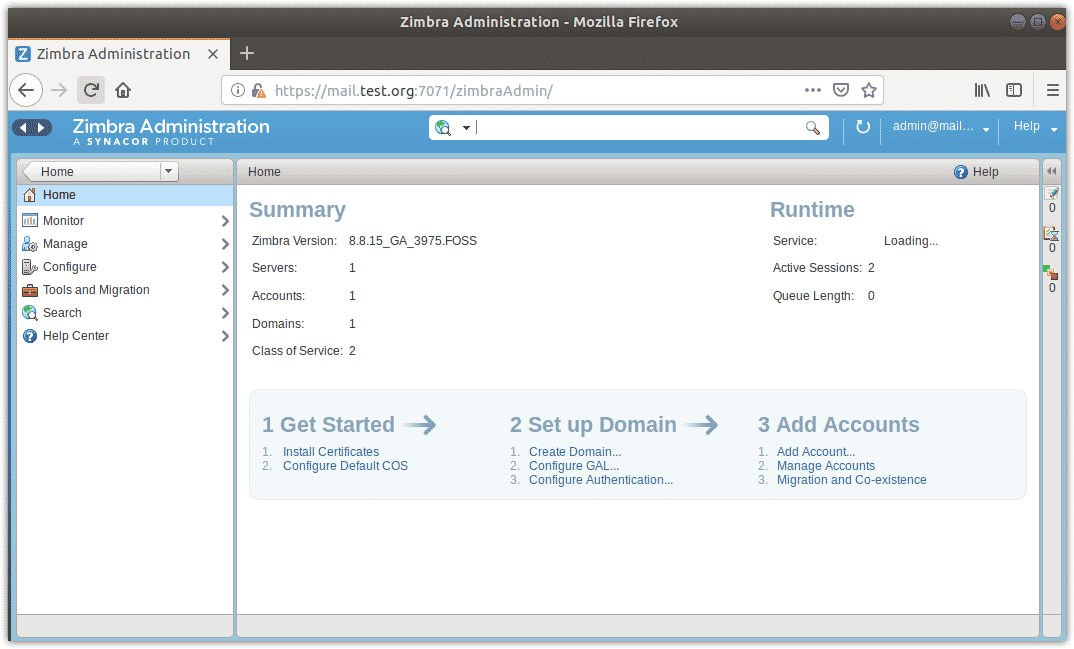
Once you are logged in, you will see the following view showing the summary and other statistics.
Zimbra is an open-source mail server that offers several features but on the other hand, it consumes a lot of resources. Therefore, it is recommended to install it in a machine that has enough memory, processor, and disk space available. Now, you have learned how to install Zimbra in Ubuntu. In some other posts, we will follow up with the configuration of Zimbra.