

PFSense – Radius Authentication on FreeRadius
Open a browser software, enter the IP address of your Pfsense firewall and access web interface.
In our example, the following URL was entered in the Browser:
• https://192.168.15.11
The Pfsense web interface should be presented.
On the prompt screen, enter the Pfsense Default Password login information.
• Username: admin
• Password: pfsense
After a successful login, you will be sent to the Pfsense Dashboard.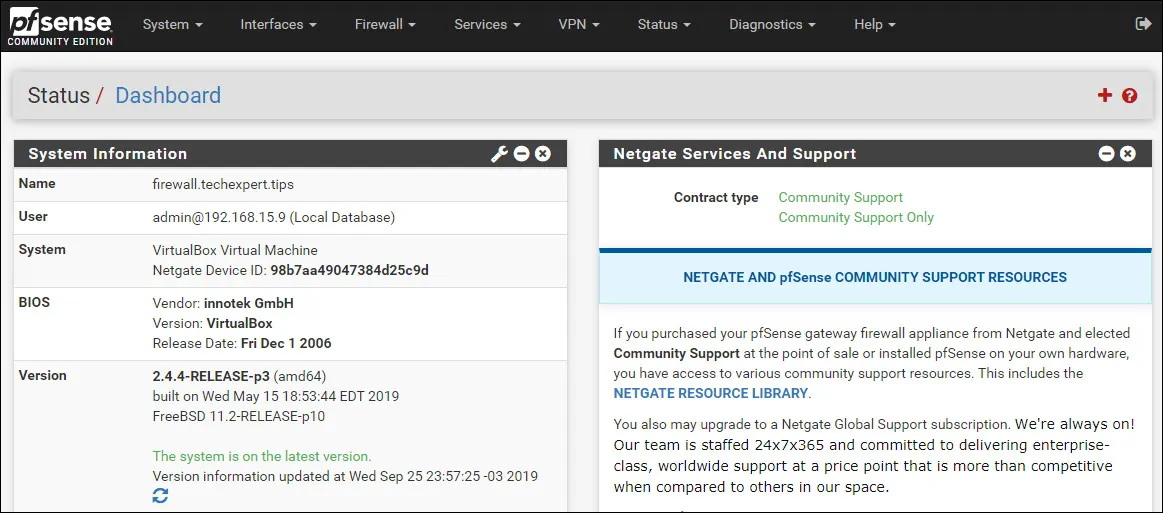
Access the Pfsense System menu and select the User manager option.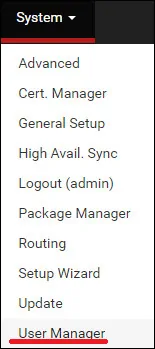
On the User manager screen, access the Authentications servers tab and click on the Add button.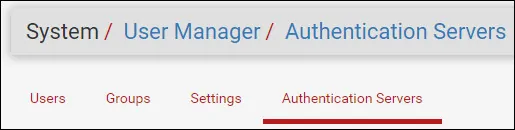
On the Server settings area, perform the following configuration:
• Description name: RADIUS
• Type: RADIUS
On the RADIUS Server settings area, perform the following configuration:
• Protocol – PAP
• Hostname or IP address – 192.168.15.10
• Shared Secret – The Radius Client shared secret (kamisama123)
• Services Offered – Authentication and Accounting
• Authentication Port – 1812
• Acconting Port – 1813
• Authentication Timeout – 5
You need to change IP address of the Radius server.
You need to change the Shared secret to reflect your Radius client shared secret.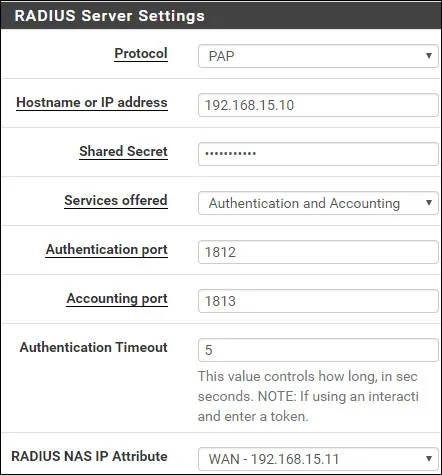
Click on the Save button to finish the configuration.
In our example, we configured the Radius server authentication on the PFSense firewall.
PFSense – Testing FreeRadius Authentication
Access the Pfsense Diagnostics menu and select the Authentication option.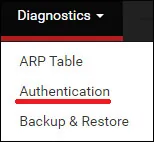
Select the RADIUS authentication server.
Enter the Admin username, its password and click on the Test button.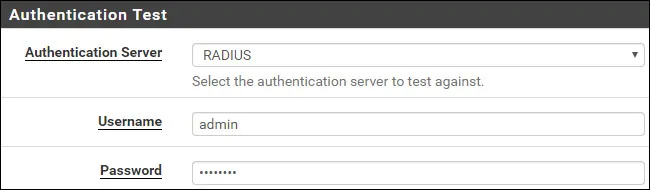
If your test succeeds, you should see the following message.![]()
Congratulations! Your PFsense Radius server authentication on FreeRaadius was sucessfully configured.
PFSense – FreeRadius Group Permission
Access the Pfsense System menu and select the User manager option.
On the User manager screen, access the Groups tab and click on the Add button.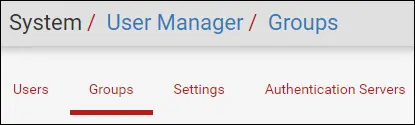
On the Group creation screen, perform the following configuration:
• Group name – pfsense-admin
• Scope – Remote
• Description – FreeRadius group
Click on the Save button, you will be sent back to the Group configuration screen.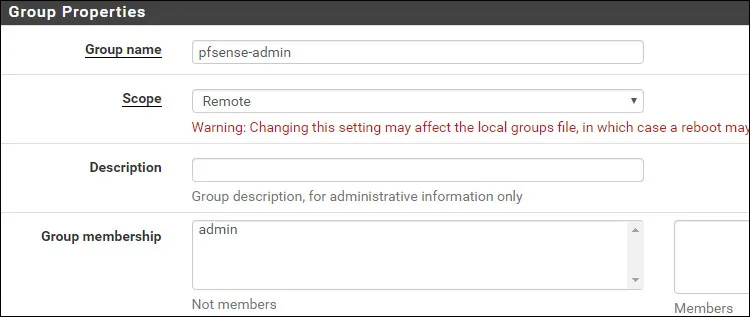
Now, you need to edit the permissions of the pfsense-admin group.
On the pfsense-admin group properties, locate the Assigned Privileges area and click on the Add button.
On the Group privilege area, perform the following configuration:
• Assigned privileges – WebCfg – All pages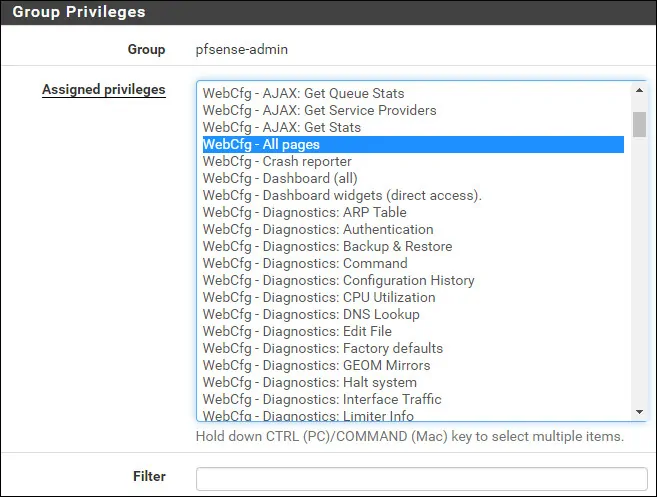
Click on the Save button to finish the configuration.
PFSense – Enable the Radius Authentication
Access the Pfsense System menu and select the User manager option.
On the User manager screen, access the Settings tab.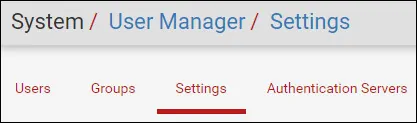
On the Settings screen, select the Radius authentication server.
Click on the Save and test button.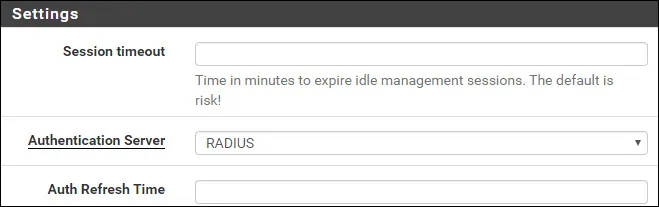
After finishing your configuration, you should log off the Pfsense web interface.
Try to login using the admin user and the password from the Freeradius database.
On the login screen, use the admin user and the password from the FreeRadius database.
• Username: admin
• Password: Enter the FreeRadius password.
Congratulations! You have configured the PFSense authentication to use the FreeRadius database.